Sunday, February 27, 2011

Sunday Randomness

#50
Today I've just been doing randomness. AND LOTS OF MATH HOMEWORK!!!!!!!!!!!!!!!!! I did manage to do come crafting. For example the card above.
1. Fold card stock
2. cut piece of green paper
3. Stamp green paper with dot stamp
4. glue on purple buttons
5. glue green piece to white base
6. poke holes around green piece
7. Stamp CELEBRATE
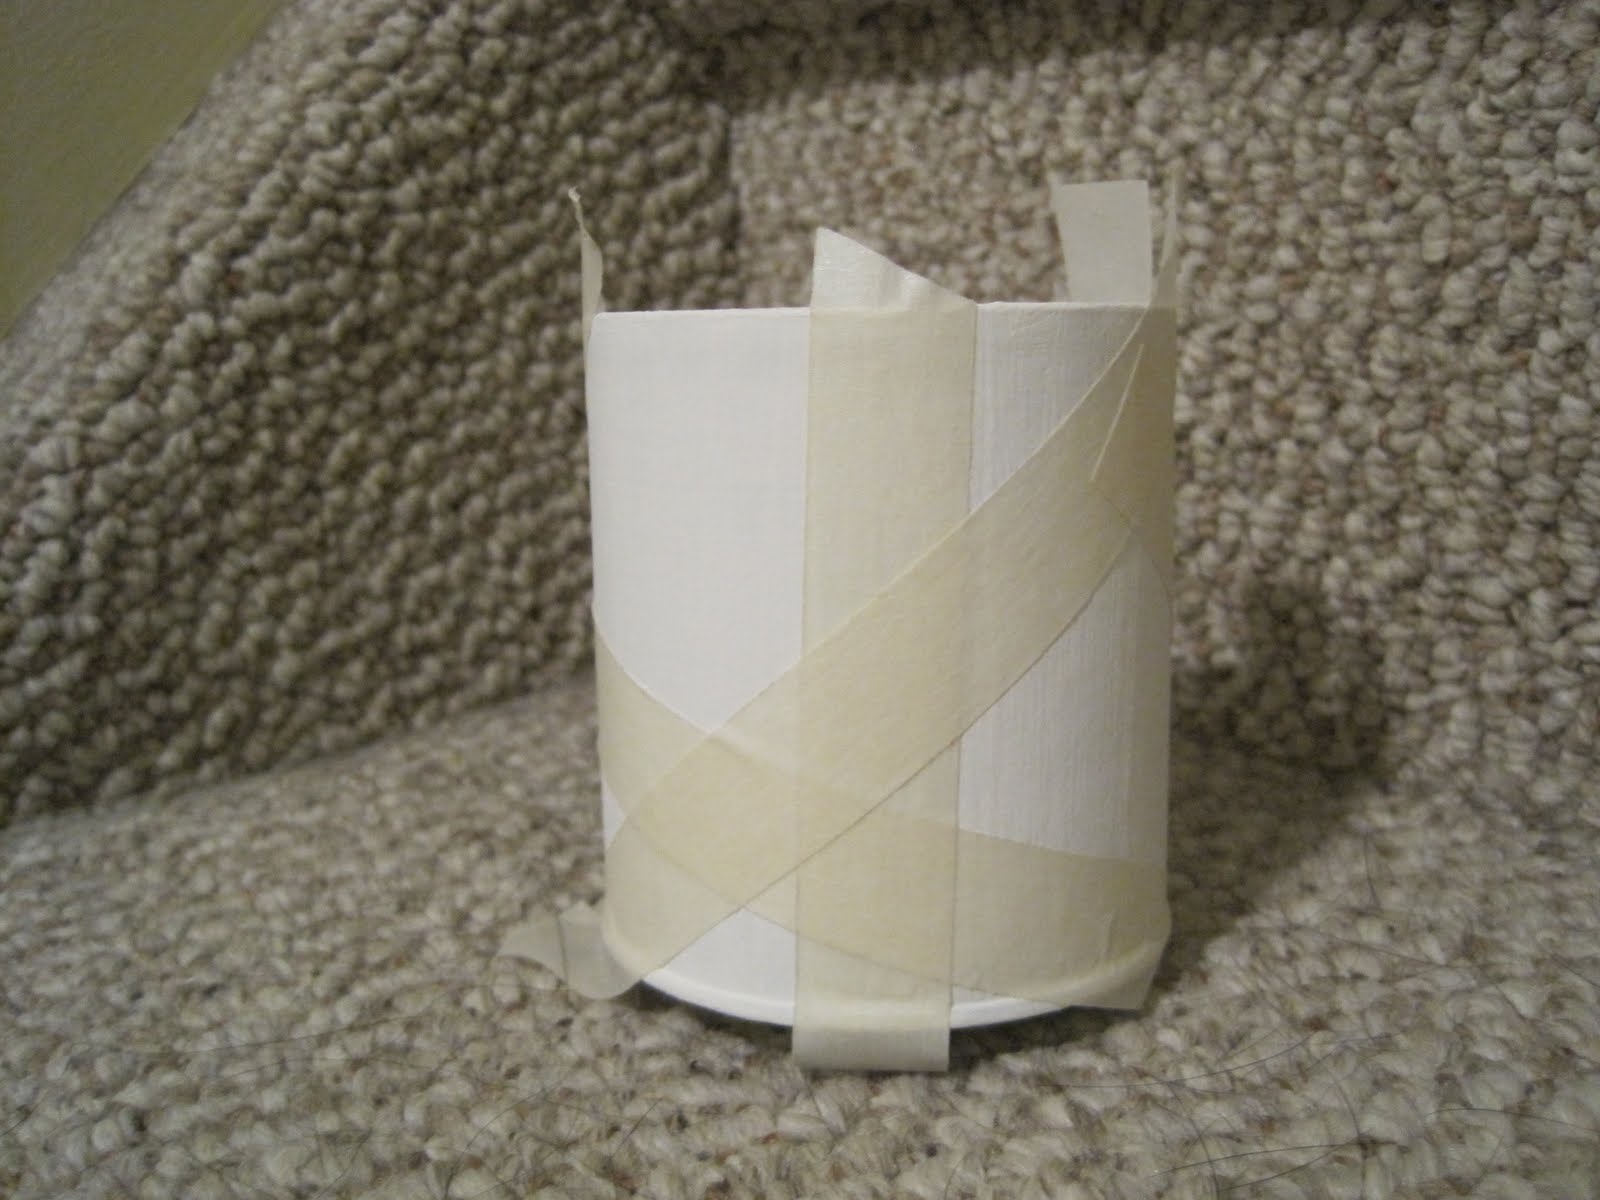
I also made this "Tim Holtz" Flower. I do have another post on it though so I won't go into too much detail. If you are like me and don't have a sizzix there is a flower on accent essentials for the cricut that makes a great substitution. For the pattern I started with some white card stock and stamped a green wood grain. I then brushed on some water to make it fade a bit.
I dabbed on some glossy accents to make it look like drops of dew.

Saturday, February 26, 2011

Shopping :)

#50
I didn't get a chance to do any crafting today but I did do some shopping. I got some things I've needed for a while now, tape runner refill, white card stock and new blades for my paper trimmer. I also got some glossy accents and am excited to try it out.

Friday, February 25, 2011

Altered Paint Brush Holder

#49
SUPER SIMPLE
My mom was cleaning out her bathroom and found an old toothbrush holder. She asked me if I wanted it and I of coarse said yes.

I used mode-podge to collage some pieces of sewing patterns to the toothbrush holder. After it dried I used some green water colour paint to give it some colour then added another layer of mod-podge.

Thursday, February 24, 2011

Wednesday, February 23, 2011

Water Coloured Patter Paper

#47
Today I thought I'd snazz up some pattern paper by water colouring it. I had some paper that had the floral pattern in a glossy raised texture. The embossed texture helps to keep most of the colour in the lines. Then I water coloured over it to create a messy look.
I didn't have time today to paint the whole sheet but you can tell it went from a simple black and white to a more artistic look. I used this technique for the background of a scrapbook page before and it turned out really cool.

Tuesday, February 22, 2011

Surprise

#46
I was plesently surprised this morning when a friend presented me with this set of paint brushes. She said her aunt was cleaning her house and asked my friend if she wanted the paint brushes my friend did not want the paint brushes but said she had a friend (me) who would very much enjoy them. She was right, rather, more than right because I was actually planning on buying some.


When I can home from school today a card had arrived for me in the mail. It's a Valentine's day card from my aunt Diane (http://alteredbookstudio.blogspot.com)
The layes on the front are all sew on with a stitch straight through the pretty pink flower ribbon. I especially love the pink fibery paper.


Inside is this pretty hear but thats not all...


As I opened the card I got another little surprise as a cascad of paper hearts came spilling out. They're are all sewn together through the middle and it looks so cool.


I can't wait to find a place to hang the pretty decoration.


Sunday, February 20, 2011

Simple Butterfly Card

#45
Today i made this super simple birthday card. First I stamped the butterflies and the HAPPY BIRTHDAY in green ink on white card stock. Then I popped it up on a piece of dark purple pattern paper. I then glued that to the brown base were I glued on a piece of green card stock and tied on some brown ribbon.

Saturday, February 19, 2011

Hot Air Balloons

#44
Today I painted a hot air balloon. I'm not really sure what provoked me to do it but I did so hears a picture. For the sky i used a makeup sponge to dab on two shades of blue and some white paint. First I blended the two blues together (darker one on the bottom) and then added the white to look like clouds.
After everything had dried I used permanent markers to add details to the balloon. I drew in some "birds" and then made a blue border with the markers as well.

Friday, February 18, 2011

Maybe a New Thing

#43

So my brother's stupid friends were over and I couldn't do any crafting for like two days so to make up for it I made a video. I like doing videos so I think I might do like 1 every week or something. I'm not making any promises though.

Tuesday, February 15, 2011

Hearts!


#42
I probably should have posted this yesterday but what ever. This is another valentine's day card I made. I took a bunch of punched out hearts from various patterned paper and glued them to a heart I cut from the cricut. Then I took some brown paper and cut another heart a bit bigger to layer with the other one. I popped that up on the kraft coloured card base and then stamped LOVE and tied on a pink ribbon.

Sunday, February 13, 2011

Stamp Storage

#41
Wow already more posts than last year.
I said I would so an extra post today to make up for yesterday so I decided to share this storage tip. I find it really nice to store my clear stamps in old CD cases.
1. they're really easy to put away
2. you can see them really well if you have a bunch of sets
3. I always end up ripping the packages they come in so.... yeah.

Basically you take the CD case and pop out the inside part the holds the CD. then take out the paper. take the sheet that comes with the stamps ans glue it into the case, cut is necessary. You can use both sides of the case because the stamps are so thin. The stamps stick to the plastic case just like they do a block. If you find they aren't sticking anymore then just wash the backs of them and they're good as new. On the edge of the case you can write the name of the stamps for easy use.
You can fit at least four dollar stamps from Micheal's in one case.

I have this lava lamp that used to hold CD's so it's a fun way to store my stamps now that CD are so old school.

Another Valentine's Card

#40
Today i made another card for the holiday tomorrow. For this one I started off by cutting out a heart from my cricut but not liking it. I took the negative image instead and used it as a stencil to ink a heart straight to the card. After inking the heart with distress ink I sprayed water on it so it would create little water marks. then before taking off the stencil I stamped LOVE all over it. When I took the stencil off I realized I had gotten some ink on the card in other places so to cover it up I used some card stock that i faux stitched and stamped LOVE onto it. To get it under the big heart I used an x-acto knife and cut around a bit of the heart. I slid the blue piece under the slit and glue it on.to make the inside look nicer I glue in a piece of brown card stock. Then to finish it off I tied on some pink ribbon.

Saturday, February 12, 2011

Ummmmm

I can't think of anything to blog about today. i didn't do anything crafty. I was hanging out with friends all day. It's a bit late to really do anything now so I'll just post twice tomorrow. Sorry.

Friday, February 11, 2011

Pencil Holder

#39
How to make a simple pencil holder!
1. take an empty can of tea and paint it white (or any colour you'd like)
2. take masking tape and tape off random strips.
3. paint in the spots with any colour. In this case i picked the colours found in my bed sheets.
4. Peel off the tape and you've got a super cool geometric pattern.

Thursday, February 10, 2011

Love

#38
Yet another valentine's card has been produced as the holiday draws near. This one was pretty simple, only 10 steps.
1) cut heart on cricut
2) stamp x's and o's across the whole thing
3) distress edges
4) fold brown card stock
5) take piece of yellow pattern paper and distress edges
6) glue to card base
7) tie on ribbon
8) use pop dots to adhere the heart
9) stamp/ emboss LOVE stamp
10) round bottom corners

There's a slight pattern to the blue and yellow papers but the picture doesn't seem to want to pick it up.

Wednesday, February 9, 2011

18!

#37
A family friend is turning 18 soon so I made her a card. I cut the 18 on my cricut and then glued it on with a glue pen. I find glue pens are really helpful when you own a cricut. I used a happy birthday stamp and stamped it below and above the number. It's really nice that clear stamps can be cut so the two words can be separated and you don't have to worry about masking. I wrote in the th so it looks like 18th.
I stared to sew around the edges when I ran out of thread. I couldn't just leave it half sewn because it looked a little weird so I took the thread out of the card and then kept sewing without thread to create a bunch of little holes that make a nice boarder.

Tuesday, February 8, 2011

I'm running out of titles!

#36
Let's just say I'm not very creative when it comes to titles.
For today's card I started with a piece of chipboard that i proceeded to cover in some green paper. Then i stamped/embossed some wood grain. To make it stand out more I rubbed on some peeled paint distress ink. The clear embossing powder resists the ink and your left with a more defined image. On the card base i also stamped/ embossed the same wood grain pattern halfway up the card front and added a yellow ribbon. I added the scalloped square to the front and attached a flower.

Sunday, February 6, 2011

XOXOXO

#36
Today i made this really simple card. It could be for valentines day or something else, doesn't really matter. I kept it simple because I didn't want to take away from the pretty paper. For the heart I clear embossed the XOXOX stamp across the whole thing. To make it stand out more I rubbed some ink over it. Oh and the heart was cut from my cricut.

Saturday, February 5, 2011

Another Story Painting

#35
Today i made another painting of a scene in my book. The picture doesn't show it very well but it's a girl sitting in a rocking chair. To make it look darker i tried to put a black wash over everything but it didn't really work.
To make the window look like real glass I first painted the view out the window and then used a Versamarker and clear embossing powder to make it glossy.

Friday, February 4, 2011

Heart Card

#34
So I made this card a while back and I thought, since Valentine's day is coming, now would be a good time to post it. For the hearts i used various background stamps. (wood grain, dots and a squiggle that I repeatedly stamped for the biggest one. For the base I stamped a flower, over and over again. I added some white card stock that was punched with a threading water boarder punch and then some ribbon and called it complete. Oh and I also rounded two of the corners.

Thursday, February 3, 2011

Uppercase

#33
So today i went to this art gallery thing, Uppercase. I'm not really sure what it was all about, kinda weird not gonna lie. I mean some of the stuff was cool but I went on their website before hand and thought "okay well I'm sure they don't put everything on their website" ... I was wrong, there was nothing more. Anyway the gallery was in this building with a bunch of other galleries and I enjoyed some of the paintings there. I especially liked this one with a hummingbird in it (not sure who that artist was though)

Wednesday, February 2, 2011

HELLO

#32I find myself using those wall stickers time and time again. They really are great for crafting. So today I spelled out HELLO and then used distress ink to make them stand out. I used some K and company papers, one popped up to add dimension. i also rounded the corners (something I should have done before popping up the paper because it got bent)

Tuesday, February 1, 2011

Inspiration

#31
It's harder to keep track of the post number now that I can't just look at the date in the bottom corner of my lap top. Happy February everyone.
I like to paint scenes from my novel I'm working on and I find it a great way to visualize a scene. By no means do I fancy myself a painter but it's fun. I also like to paint scenes that I want to write but that part doesn't come up for a while. You'd think it would help to go through the sense so I could forget about it and just write the part I'm on but rather makes me want to write faster so I can get to that scene that I've been playing over and over again in my head as I painted it. Either way it makes me write faster and since it's been like six moths already and I'm only on page 105 i need to pick it up a bit.