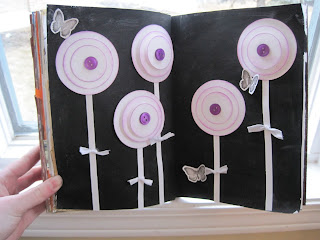
I have chosen to participate in my first online challenge. This week's Mixed Media Monday
challenge was to create something
black and white with just a hint of colour. For my project I made an art journal page. First I painted the page all black and then made some white lollipop flowers. To add in the hint of colour, I sponged the edges of the circles in purple ink and used a purple button for the center. To make the leaves, I tied some white ribbon in a knot. For added
interest I cut out some stamped butterflies and adhered them with a glue dot. To make the butterflies look like they are flying I bent up the wings. The flowers looked a little boring just flat so I used foam tape to give some
dimension.
 Sorry for the lack of posts but now that it's spring break I have lots of time to do some crafting. So I made these two pieces on playing cards. I have 104 playing cards that I got for 62 cents. The cards make great bases for the tiny pieces. So for the one above I used alcohol inks on the card. The alcohol inks work really well on the cards because they are a little glossy. Then I added some shear ribbon as a base for the e.
 To make the e I took a chipboard letter and did the alcohol inked tin foil technique. The three gems were just clear but I alcohol inked them too.
 This is the other piece I created. First I glued a picture of my grandma and her family on the card. My grandma is the one sitting properly on the chair. Then I distressed the edges with vintage photo distress ink. Then I took some glitter glue and mixed it with re-inker for a more vintage look. I scraped the glitter on the sides to frame the photo. With some dictionary paper I wrote family and attached that to the side with some coloured staples. I added a few more staples to make it look like the picture is attached with staples.
 To finish it off I distressed a prima flower and tucked it behind the playing card. I really distressed the flower so it would match. The flower used to be white and pink.
 Here is a close up of the glitter and staple.


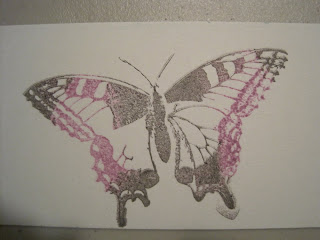 This could look really cool on flower stamps if you use one colour for the petals and one colour for the center or stem.


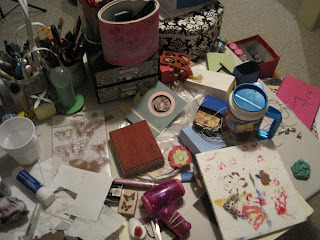 Here's is the start of the mess
